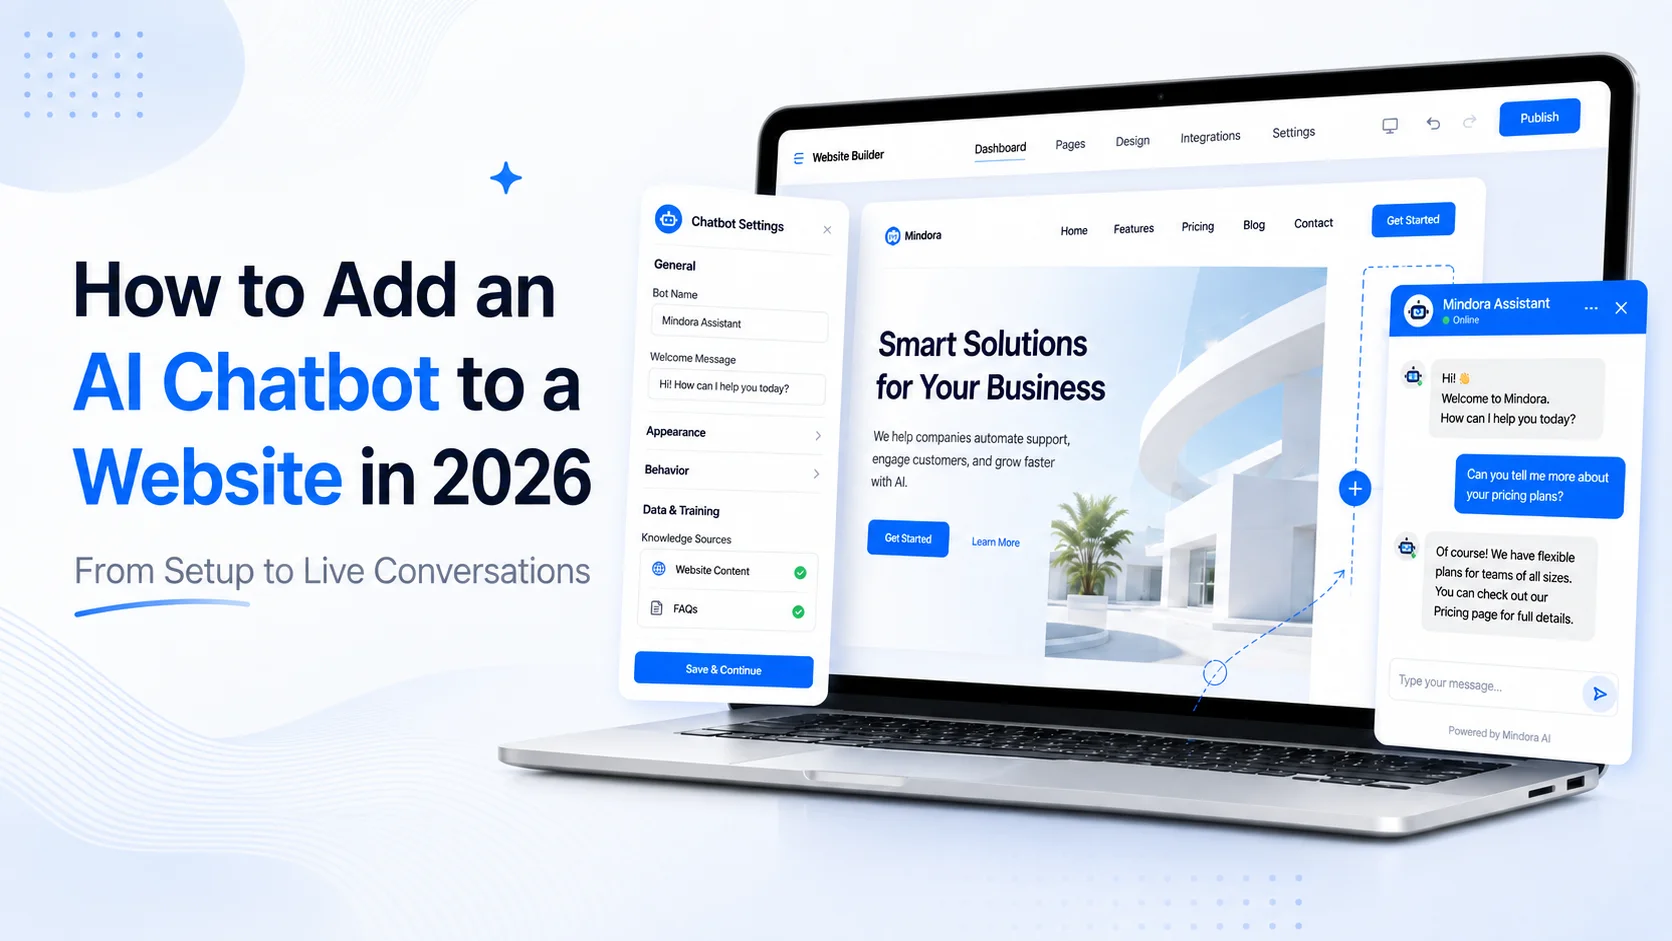
If you are searching for how to add AI chatbot in website, the process usually involves three things: preparing the chatbot with reliable business knowledge, connecting it to your website and testing how it behaves with real visitors. Here is how to do it properly.
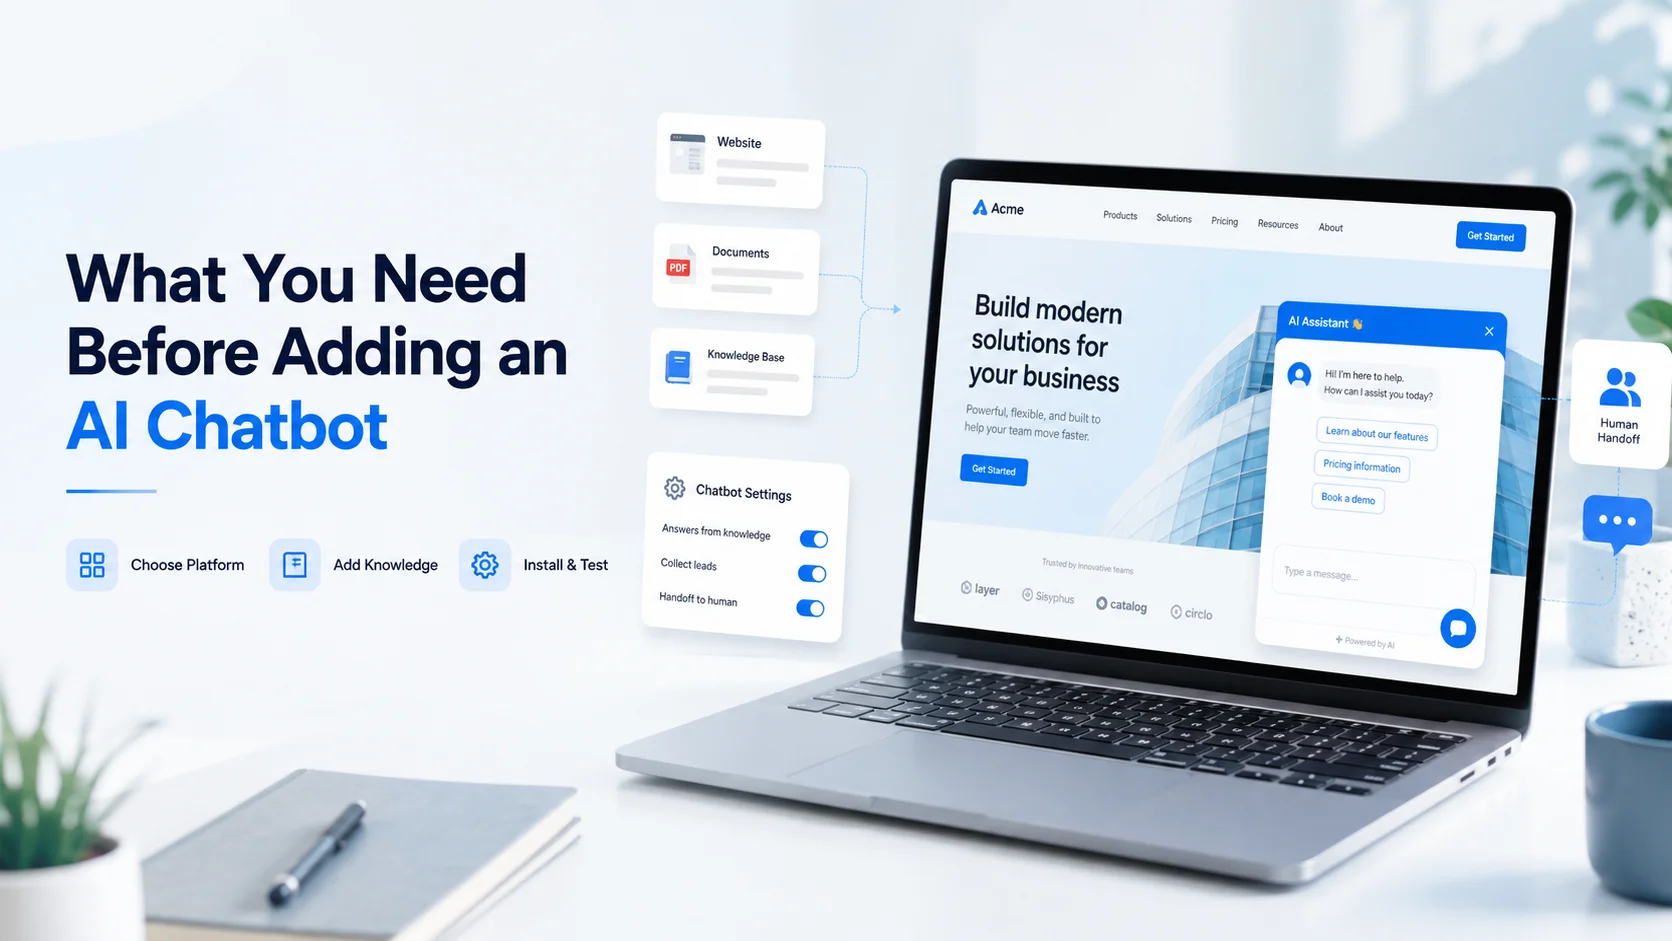
What Do You Need Before Adding an AI Chatbot?
Before installing anything, decide what the chatbot is supposed to help with. A business website may use AI to answer FAQs, explain services, collect leads, support customers or guide visitors toward the right page. An ecommerce store may want help with products, delivery, returns and pre-purchase questions.
The purpose matters because it determines what information the chatbot needs. For example, if you want the chatbot to answer customer-support questions, you may need FAQs, policies, and support documents. If the goal is sales assistance, it may need product information, service descriptions, pricing, and qualification questions. Installing the widget first and thinking about the knowledge later usually creates a weak experience.
Step 1: Choose an AI Chatbot Platform
The first step is choosing a platform that can create and deploy an AI chatbot on your website. A standard website chatbot platform should allow you to add business knowledge, configure responses, test conversations and install the chatbot without building the entire AI system yourself.
Look for capabilities that match your needs, such as website crawling, document uploads, human handoff, lead capture, multilingual conversations, analytics and integrations. You do not need every available feature. A small service business may need only website Q&A and lead capture, while an ecommerce store may need product guidance and policy support. The right platform is the one that handles your real visitor questions reliably.
Step 2: Add Your Website as a Knowledge Source
A useful AI chatbot needs information about your business. Many modern chatbot builders can scan a website and use its pages as a knowledge source. Depending on the platform, this may include:
Products
Services
FAQs
Pricing
Shipping information
Return policies
Help articles
Contact information
Other important business pages
Before allowing the chatbot to learn from your website, review the content. If one page contains old pricing while another contains the current price, the chatbot may receive conflicting information. The same problem can happen with policies, product specifications and service details.
Clean source content makes the chatbot more reliable. AgentBest.ai's planned workflow follows this website-first approach: users enter a website URL so the platform can scan pages, products, services, FAQs, policies and other relevant information.
Step 3: Add Extra Knowledge That Is Not on the Website
Your public website may not contain everything customers ask about. You may also need to provide documents such as PDFs, product manuals, detailed FAQs, pricing sheets, onboarding guides or support instructions.
For example, a SaaS website may explain its main features publicly but keep detailed setup instructions in a separate support document. An ecommerce business may have product manuals that do not appear directly on product pages. Adding this information gives the chatbot a broader and more useful knowledge base.
However, only provide information the chatbot is actually allowed to use with customers. Internal or confidential documents should not be added unless the platform provides appropriate access controls and the chatbot is intended for that use.
Step 4: Configure the Chatbot's Behaviour
Before deploying the chatbot, define how it should communicate. Tell it what type of questions it should answer, how detailed its responses should be and when it should ask a follow-up question. You should also define clear boundaries.
For example, the chatbot should not invent prices, discounts, delivery promises or product features when the source information does not confirm them. A useful instruction might be: Answer using available business information. If the answer cannot be confirmed, explain that clearly and offer human assistance.
This is much safer than telling the chatbot to always provide an answer. You can also adjust the communication style so it fits your brand without making every response sound overly promotional.
Step 5: Customize the Website Chat Widget
The chatbot widget is the part visitors actually see, so its appearance and placement matter. Most platforms allow some level of customization, including the chatbot name, welcome message, logo, button position and basic styling. Keep the opening message clear.
Instead of using only: “Hi! How can I help?” a service business could say: “Have a question about our services, pricing or process? Ask here.” An ecommerce store might use: “Need help with products, shipping or returns? Ask me.” This immediately tells visitors why they should use the chatbot. The widget should also be visible without covering important page content, especially on mobile devices.
Step 6: Install the Chatbot on Your Website
Once the chatbot is ready, it needs to be connected to your website. The exact installation method depends on the chatbot platform and website technology, but common methods include a JavaScript embed code, website plugin, CMS integration or supported ecommerce integration. A typical embed installation works like this:
The chatbot platform generates a small script or widget code.
You copy the code.
The code is added to your website.
The chatbot widget becomes available to visitors.
Some website builders and CMS platforms may provide a dedicated plugin or integration that simplifies this process. If your website is managed by a developer, you can usually give them the generated installation code instead of asking them to build the chatbot itself. AgentBest.ai's approved website structure describes deployment through a simple website widget after the business knowledge has been prepared.
Step 7: Decide Where the Chatbot Should Appear
The chatbot does not necessarily need the same behaviour on every page. Think about why visitors need help at different stages. On the homepage, the chatbot may explain what the business offers. On a pricing page, it may answer questions about plans. On a service page, it can explain requirements or guide the visitor toward a consultation.
For ecommerce, high-value locations may include product pages, collections, shipping information and support areas. A shopper viewing a product may ask: “Does this work with the Pro version?” The chatbot can use the published compatibility information to respond.
A shopper viewing the returns page may instead need help understanding whether a particular return condition applies. The chatbot becomes more useful when its knowledge and conversation fit the visitor's current context.
Step 8: Test the Chatbot Before Launch
Do not publish the chatbot immediately after installation. Test it as if you were a real customer. Ask normal questions, vague questions, spelling mistakes and follow-up questions. For example:
“do u deliver uk?”
“which plan for small team?”
“can i return opened item?”
Then test conversational context: Visitor: “Tell me about the Growth plan.” Visitor: “Does that include multilingual support?” The chatbot should understand that the second question still relates to the Growth plan. Testing realistic customer language is far more valuable than testing only perfectly written questions.
Step 9: Test Questions the AI Should Not Answer
You should deliberately try to make the chatbot fail before customers do. Ask questions for which the website provides no answer. For example:
“Can you give me a 60% discount?”
“Can you guarantee delivery tomorrow?”
“What features are you launching next month?”
If the information does not exist in the approved knowledge, the chatbot should not make something up. A better response is to explain that it cannot confirm the information and provide a way to contact the business. Knowing when not to answer is an important part of a reliable AI chatbot.
Step 10: Set Up Human Handoff
Some conversations will require a person. A customer may have a complaint, billing dispute, unusual refund request, technical issue or high-value sales enquiry. The chatbot should have a clear path for transferring these conversations.
Ideally, the human team should receive the conversation history and any information already collected. This prevents customers from having to explain the same issue twice. For example, if the chatbot has already collected the visitor's name, email and project requirements, the salesperson should receive that context before continuing.
Human handoff should be part of the chatbot design from the beginning, not something added only after customers complain.
Step 11: Check Mobile Experience and Website Performance
Your chatbot may work perfectly on desktop but create problems on mobile. Open the website on different screen sizes and check whether the widget covers navigation, buttons, forms or important product information.
Also check page performance after installing the chatbot. Any third-party website tool adds additional resources, so businesses should monitor whether the widget significantly affects loading speed or user experience. The chatbot should help visitors without making the website harder to use.
Step 12: Consider Privacy and Customer Data
A chatbot conversation may contain customer information. Depending on how the chatbot is configured, visitors might provide names, email addresses, order numbers, business details or other information. Before launch, understand what information the chatbot collects, where conversations are stored, who can access them and how long they are retained.
Do not ask for personal information simply because the chatbot can collect it. Only request information that is genuinely necessary for the conversation or follow-up. Sensitive actions involving accounts, payments or private customer records should also require appropriate authentication and secure integrations.
Step 13: Launch and Monitor Real Conversations
Once testing is complete, publish the chatbot to real visitors. But deployment is not the end of the process. Review conversations regularly to understand:
What customers ask most often
Which questions are answered successfully
Where the chatbot gives weak responses
Which topics frequently require human assistance
What information is missing
Whether visitors are using the chatbot as expected
These conversations often reveal problems outside the chatbot itself. If many visitors ask about a product feature, the product page may need better information. If customers repeatedly misunderstand a policy, the policy may need clearer wording. The chatbot can therefore become a source of website and customer-experience insights.
How to Add an AI Chatbot to an Ecommerce Website
For ecommerce stores, the installation process is similar, but the knowledge should focus more heavily on product and store information. Give the chatbot access to accurate product descriptions, categories, FAQs, shipping details, payment information and return policies. Then test questions shoppers commonly ask:
“Which size should I buy?”
“Is this compatible with my device?”
“How long will delivery take?”
“Can I exchange this if it doesn't fit?”
The chatbot can use available store information to answer these questions and guide shoppers toward relevant products. However, live stock, personal orders, delivery tracking and refund processing require the correct integrations. Without those connections, the chatbot should provide general guidance instead of pretending it has access to customer-specific data.
Should You Add the Chatbot to Every Page?
Usually, the chatbot widget can be available site-wide, but that does not mean every page needs the same experience. Pages with strong visitor intent deserve particular attention. These may include:
Homepage
Product pages
Service pages
Pricing pages
Support pages
Contact pages
Ecommerce policy pages
You may also want to adjust welcome messages or conversation prompts depending on what the visitor is viewing. The goal is not to make the chatbot constantly interrupt users. It should remain available when assistance is useful.
Common Mistakes When Adding an AI Chatbot
One common mistake is installing the chatbot before cleaning the website content. Another is launching without testing questions that fall outside its knowledge. Businesses also sometimes allow the chatbot to handle too much. Sensitive complaints, complex decisions and important sales conversations may need human support.
Poor placement is another problem. An oversized widget or aggressive pop-up can create more friction than the chatbot removes. Finally, many businesses launch a chatbot and never review it again. Products change. Policies change. Customer questions change. The chatbot needs to change with them.
How Agent Best AI Helps You Add an AI Chatbot to Your Website
Agent Best AI uses a simple website-first workflow. You enter your website URL so the platform can learn from relevant pages, products, services, FAQs, policies and other business information. Additional PDFs, manuals, pricing details and support documents can also be added to improve the knowledge base.
After the AI agent has been configured and tested, it can be deployed to the website through a widget. The agent can then answer visitor questions, guide users, assist customer-support and sales conversations, capture enquiries and transfer complex situations to a human team member. This approach allows businesses to focus on their content and customer experience instead of developing the underlying chatbot infrastructure from scratch.
Final Thoughts
Learning how to add AI chatbot in website is not mainly about copying a piece of code. The installation itself may take only a few minutes. The real work is preparing accurate knowledge, setting chatbot boundaries, testing realistic questions, designing human handoff and monitoring what happens after launch.
Start with a clear purpose. Give the chatbot reliable information. Test what it knows and what it does not know. Then deploy it where visitors actually need help. A chatbot becomes valuable when it makes the website easier to use, not simply when a chat icon appears in the corner.